I hope you enjoyed last week’s pains au lait! Today, we will be making Vienna bread, another soft crusted bread. It is a slightly sweet bread, similar to pain au lait, but has a more bread like texture. It is generally shaped into a baguette and cut in several places. Vienna bread is primarily composed of flour, milk, butter, sugar, yeast and sometimes eggs. In today’s recipe, we’ll be replacing the egg with more milk, for an egg free version that is incredibly tasty.

I found out about Vienna bread when looking for an easy bread to make. Turns out, I had already eaten it several times but just didn’t know what it was called! And a homemade version had never crossed my mind! I have to admit, it’s incredibly satisfying to make from scratch something you love but mistakenly thought was beyond your baking skills! And the best thing about making it at home is that you can customize it as you see fit! I’m thinking, chocolate chips! Yes, chocolate is always on my mind! But Vienna bread is also delicious filled with cheese, jam or even as is!
Making Vienna Bread
If you made the pains au lait last week, you’ll probably be very comfortable making this dough. The process is very similar and the dough is very easy to handle.
Dissolving the yeast
- Warm the milk to about 43°C (110°F). It should feel very slightly warm to the touch.
- In a small bowl, stir the yeast and warm milk with a spoon and let it dissolve for 10 minutes. Optional: If you aren’t sure if your yeast is active, you could mix in a teaspoon of sugar. If the yeast is active, it will start to feed on the sugar and you’ll notice a foamy layer forming on the surface of the milk.


Mixing the dough
- In a large mixing bowl, combine the flour, salt and (remaining) sugar.
- Create a well in the middle of the flour mixture.


- Pour the milk mixture in the well and mix (on low speed) until a ball forms, about 3 minutes. The dough will look a bit dry in the beginning but will eventually come together. You can mix by hand if you prefer or use a stand mixer fitted with the hook attachment.


- Add the softened butter and mix again (on low speed) until the dough pulls away from the sides of the bowl and becomes smooth and elastic. To test this, pull a little bit of dough. If it rips, keeps mixing. In case you missed it, we discussed all this when making pain au lait. If using a stand mixer, check the elasticity of the dough frequently so you don’t end up overworking and tearing the dough.


First rise
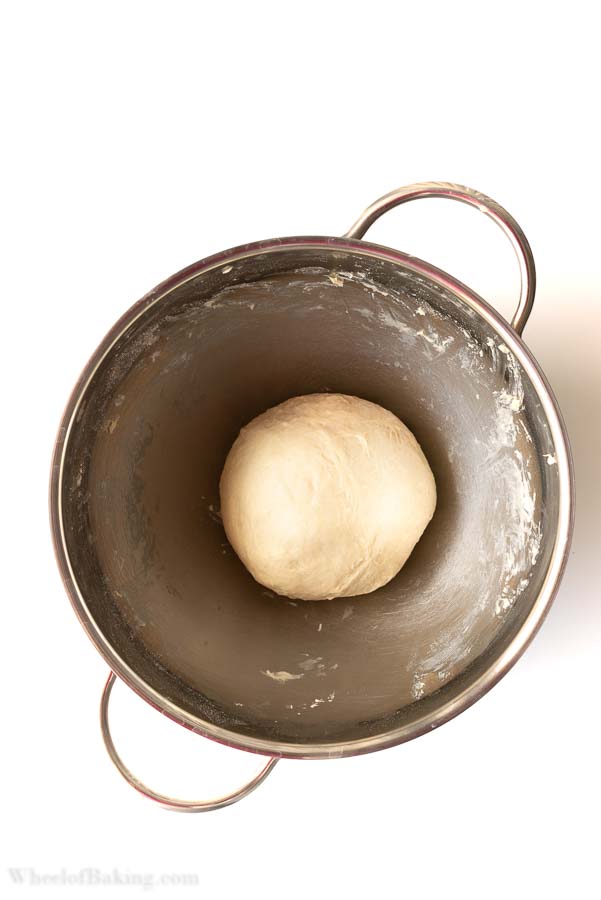
- Shape the dough into a ball by pulling the sides of the dough towards the bottom.
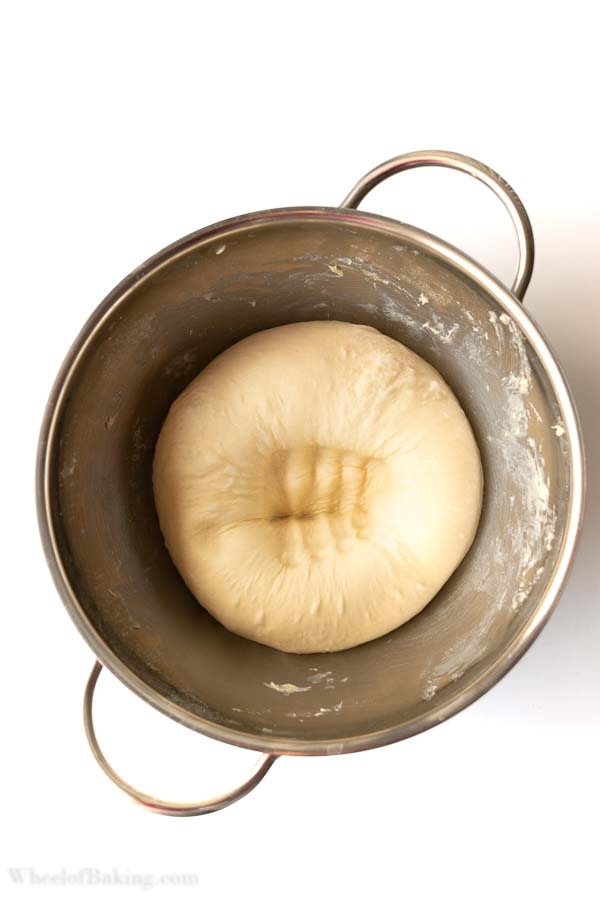
- Cover and let it rise for about 90 minutes, or until doubled in volume. This might take more or less, depending on how hot your kitchen is, how long you mixed etc.
- When the dough has puffed up, gently punch it down and reshape it into a ball. You can either return it to the mixing bowl and refrigerate it, covered, until the next day. Or proceed immediately to shaping the Vienna bread. If you do refrigerate the dough, let it warm up at room temperature for a few minutes if you find it hard to work with.


Vienna Bread With Chocolate Chips
If you wish to add chocolate flavor to the bread, now is a great time to do it!
- Split the dough into two balls, about 240 g each.
- Vienna bread without chocolate chips: simply shape each ball into an elongated loaf. If you’re not sure how to do this, the pain au lait step-by-step pictures might help.
- With chocolate chips: Using the palm of your hand, flatten the dough (seam side up) and cover with chocolate chips.


- Roll the dough and mix it well to properly incorporate the chocolate chips in the dough.
- Shape the dough into an elongated loaf by rolling it from the center towards the edges.


- Place it, seam side down, on a baking sheet lined with parchment paper. Cover and let it rise for about an hour, or until puffy.
- Lightly brush with a beaten egg.


- Score the bread in several places using a sharp knife (or kitchen scissors).
- If desired, add more chocolate chips on the surface of the bread.
- Bake in the middle shelf of a preheated oven at 180°C (356°F), conventional setting for 15-20 minutes, or until golden brown. Let them cool on a wire rack.


Tips For Making Vienna Bread
If you look at the previous pictures of chocolate chip Vienna bread, you might have noticed a few things:
- The surface isn’t smooth: I did not use any flour when shaping the dough and as a result it stuck to my hands, creating an uneven surface. Use a little bit of flour to prevent this from happening. But don’t overdo it or you won’t be able to seal the dough properly.
- The cuts are too shallow: Use a very sharp knife to score the bread. If your knife doesn’t cut well, you’ll end up pressing on the dough too much and deflating it while trying to cut. And don’t be afraid to cut a big slit. I realized from the pictures I’m a bit chicken when cutting the dough and the slits aren’t too pronounced even in my “best” attempt (below)!


Other possible issues you might encounter:
- The dough is too elastic: Let the dough rest for a while to relax the gluten. I find that refrigerating the dough for a few hours (or overnight) helps.
- The dough is tearing: This might happen if you under-kneaded the dough and not enough gluten was formed. Or if you over-kneaded the dough and it has been stretched too much. Try letting the dough sit for awhile before shaping it. And if you tried to shape cold dough, straight out of the refrigerator, let it warm up at room temperature for a few minutes before rolling it.

And that’s it! So easy to make and such a pleasant breakfast! Or snack that can be enjoyed any time of the day really! I hope you’ll try it out! There is something about homemade bread that can make you feel very proud! Can’t wait to see what you make!
In case you missed it, head over to the easy bread calendar to see what else we will be learning this month.


Made this recipe and it turned out great! Thank you!!
I’m so glad you enjoyed it Aleyna! Thank you very much for letting me know!
I made this and it was too flat. What did I do wrong? Not leave it to rise long enough perhaps?
Not letting it rise enough could be the issue as you suggested. a) Did you wait for the dough to double in volume (step 6)? If your kitchen is very cold, this step might take longer. b) During the second rise (step 9), if you underproof the dough, it won’t rise as much. If you leave the dough to rise for too long, the bread might collapse in the oven. To know if the dough is properly proofed, gently touch the dough with your finger. If it springs back slowly, it’s ready. If it bounces back too quickly, it’s underproofed. And if it doesn’t spring back and the dent made by your finger stays in the dough, it’s overproofed. I’ll just mention other possible reasons in case they apply to you. 1) Did your dough rise at all? If it didn’t, it could be because the yeast you used wasn’t active anymore. You should also make sure the milk isn’t too hot when you add it to the yeast. It should be at around 43°C (110°F). 2) When you were mixing the dough after adding the butter (step 5), did you try stretching the dough to see if it is elastic? If you don’t get to this stage, the dough won’t be strong enough to hold the gas bubbles in and you will end up with flat bread. If on the other hand you knead too much, the dough will rip. 3) I’m assuming you didn’t use a low protein flour (such as cake flour) right? I use all-purpose flour which has a protein content of 11%. It’s best not to use less than this. It should be written on the packaging if you want to check yours. 4) Is your oven at the right temperature? If none of the above tips apply to you, try increasing the oven temperature next time. Maybe it wasn’t hot enough so the bread didn’t rise properly. Hope this helps and that you’ll manage to enjoy fantastic bread next time!