


Do baked donuts (a.k.a doughnuts!) taste like fried donuts? Not really. But are baked donuts any good? Definitely! So if you can’t – or simply don’t want – to fry your donuts, this recipe is for you. And you don’t even need a donut pan to make them! How great is that?! The yeast dough is rolled out and cut into a donut shape using whatever you have on hand: cookie cutters, sharp glasses or just a knife!

The Different Types Of Donuts
The two main types of donuts are yeast-raised donuts and cake donuts. The difference lies in what is used to make the dough rise.
Yeast donuts, as the name implies, require yeast and will yield a dough that can be rolled out and cut into shapes. The dough is left to rise for a few hours and develops a complex flavor. The resulting donut has a wonderful light and fluffy texture.
Cake donuts will rely on baking powder (and sometimes baking soda) as the leavening agent and can be prepared on a last minute whim. You will usually end up with batter that needs to be poured into a pan before being baked. Cake donuts are generally denser than yeast donuts.
A third type of donut, which is not as common, is the French donut. This type of donut starts off with choux pastry that is piped into a donut shape and then fried.
What type of donut to make will depend on your own preferences and also on how long you can wait before eating them! Today, we will be making yeasted donuts.

Ingredients In Yeasted Donuts
Yeasted donuts are essentially enriched bread dough. A rich dough contains fat, sugar and sometimes eggs in addition to the basic ingredients (flour, yeast, salt) required for a lean dough. We discussed this when making no knead bread, which is a lean dough. But let’s take a look at all the ingredients used.
- Flour: Used for structure. Cook’s Illustrated1 recommends using all-purpose flour for a lighter donut. Bread flour, with a higher protein content (more gluten formed), yields donuts that are more dense and chewy.
- Yeast: We will be using instant yeast in this recipe. But you can use active dry yeast (5 g), or fresh yeast (10 g) if you prefer. The rise time will differ. The yeast will give the donut a nice fluffy texture and a complex flavor.
- Milk: For hydration, richness and flavor.
- Sugar: Since donuts are generally coated with sugar, glazed or contain sweet fillings, the sugar amount in the dough itself is not very high. Adding too much sugar would also lead to excessive browning.
- Egg yolks: Using only the egg yolks will yield a richer and more flavorful donut, which is essential since we won’t be frying the donuts.
- Butter: For richness and flavor. Softened butter (as opposed to melted butter) is used in this recipe. But to prevent it from melting, the softened butter should still be slightly cool. It’s also best to use a stand mixer to knead the dough to keep it cool. Mixing the dough with warm hands would cause the butter to melt and would result in a greasy dough.
- Flavorings: We will be adding salt, vanilla extract and nutmeg to the dough. The nutmeg flavor is subtle yet wonderful. If you do not want to use nutmeg, you can replace it with cinnamon. You could also use orange zest if you like.

Baked Versus Fried Donuts
Is a baked donut still a donut? That can be subject to debate! Fried donuts and baked donuts generally do not have the same color and texture. It’s probably best not to pit one against the other however, and instead appreciate each for what it offers! Fried donuts are what most people are accustomed to and will earn extra points for familiarity. They also generally have a wonderful texture and flavor. But the frying bit can put some people off. It’s not exactly healthy but it is also quite cumbersome to do at home. Enter baked donuts.
Most baked donut recipes are cake donuts. But I wanted to try out Cook’s Illustrated recipe for yeast donuts. The recipe calls for frying the donuts, which of course gives them a lovely flavor and texture. I initially simply used the same dough and baked the donuts instead of frying them. But the donuts turned out slightly dry and a bit bland. I increased the amount of milk quite a bit for a moist interior and replaced the whole eggs with egg yolks for more richness and flavor. I also added flavorings (vanilla extract and ground nutmeg). And finally dipped the baked donuts in a thick chocolate ganache! This is of course optional but it’s so good!

Making Yeast Donuts, Step-by-Step
Time to make the donuts! The process is really easy but since we will be using yeast, the dough should be made in advance.
Preparing the donut dough
- Dissolving the yeast: Heat the milk until lukewarm, about 43°C (110°F). It should feel very slightly warm to the touch. In a small bowl or measuring cup, gently stir together the warm milk and yeast. Cover and let it sit for 5-10 minutes. Be sure to always test the temperature of a liquid before adding it to the yeast. A high temperature will kill the yeast.
- Mixing the dry ingredients: In the stand mixer bowl fitted with the hook attachment (or in a large bowl), whisk together the dry ingredients: flour, sugar, salt and nutmeg.


You generally do not need to dissolve instant yeast beforehand and you can simply mix it with the dry ingredients. I have noticed, however, that it sometimes does not dissolve properly and you might end up with a grainy dough and visible yeast in the kneaded dough. I recommend dissolving the yeast in warm milk before adding it to the dry ingredients.

- Adding the wet ingredients: Add the milk mixture, egg yolks, and vanilla extract. Mix everything (on low speed, if using a stand mixer) until fully combined and the dough pulls away from the sides of the bowl, 3 to 4 minutes. Scrape down the sides of the bowl as needed.


- Adding the butter: Gradually add the softened butter and keep mixing (on low speed) until the dough becomes smooth and elastic. This will take about 10-15 minutes. When adding the butter pieces, wait for the butter to be fully incorporated before adding more, about 20 seconds.
- First rise: Shape the dough into a ball and place it in a lightly oiled medium bowl, turning it once to coat it completely with oil. Cover and let it rise until doubled in volume, about 1 1/2 – 2 hours (pictured below, right).


The donut dough is ready when…
Figuring out when to stop kneading the dough can be a bit tricky. Here are a few signs to look out for.
The dough is ready when: 1) it pulls away from the sides of the bowl. 2) It doesn’t rip when you pull it and stretch it. 3) It forms a soft ball. This dough is quite sticky but should become easier to handle as you are kneading it. Avoid using any additional flour which would make for a tough donut, unless necessary. If the dough is very wet, add only one tablespoon of flour at a time, until the dough forms a soft ball.

Shaping the donut
- Shaping the dough: Line a baking sheet with parchment paper. Lightly oil your hands before removing the dough from the bowl. You can flour your hands if you prefer. Gently punch down the dough to deflate it and place it onto a piece of parchment paper.
- Gather again into a ball. Lightly dust the surface of the dough with flour and roll out to a thickness of about 1cm (3/8 inch).
- Using a 7 cm (2 3/4 inches) cookie cutter (or sharp glass, knife etc.), cut out circles that are as close as possible. Use a smaller cookie cutter (or piping nozzle) that is about 3 cm (1 1/4 inches) to cut out the donut hole. The dough will rise quite a bit and the hole will get smaller. If you’d rather make a filled donut without hole, you can cut out 6 cm (2 1/3 inches) circles, or any size you’d like really! Transfer the donuts and donut holes (if desired) to the baking sheet. Gather the scraps and repeat the process once more (roll out the dough, cut shapes).
- Second rise: Cover the donuts loosely with plastic wrap and let rise at room temperature for 30-45 minutes, or until slightly puffy.
When cutting out shapes, try to cut as many donut circles as possible the first time to avoid rolling out the scraps too many times. The more you work with the dough, the tougher the donuts will be (more gluten formed). You might notice that the dough tears more easily and the surface of the baked donuts made from the scraps isn’t as smooth as the first donuts you prepared. Ideally, you should only roll out the dough twice. You can make mini donuts or donut holes with the leftover dough before rolling it out again.


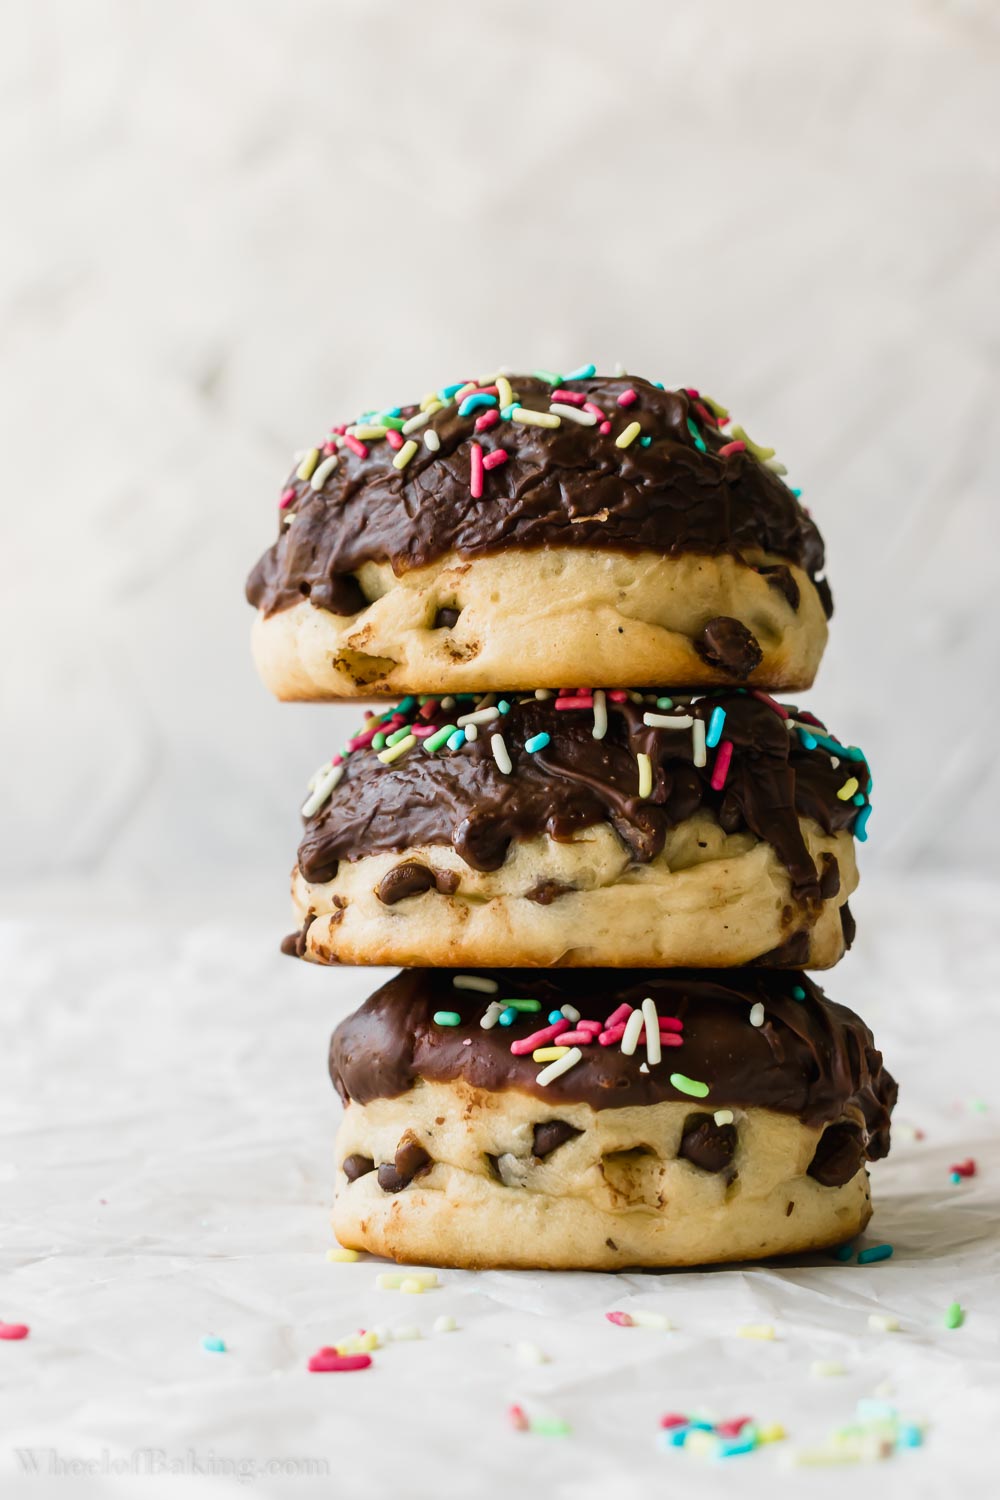
Chocolate chip donuts
I added chocolate chips and spread them throughout the dough in the trial pictured above, but we preferred the donuts without them. The chocolate chip donuts were tasty, but the shape of the donut wasn’t great, once baked. The chocolate chips were sticking out and looked a bit messy. I think chocolate chips might work better in cake donuts, which are poured into the donut pan.

Baking The Donuts
- Preheat the oven to 190°C (374°F), conventional setting. Bake the donuts on the middle shelf of the oven for about 9 minutes, or until lightly golden. It’s best to check a few minutes before the recommended time to avoid overbaking the donuts, which would make them dry.


If you wish to coat the donuts with sugar, you can do so as soon as you take them out of the oven. Brush them with melted butter and then dip them in sugar. And if you don’t feel like melting butter, simply stick a cube of butter into a fork and rub it against the hot donut.


Glazing The Donuts
Your donuts are out of the oven! Time to prepare the glaze! We will be making a thick chocolate ganache. If you followed the tart baking calendar, you might recall how we made the chocolate ganache for the chocolate tart.
The consistency of the chocolate glaze
Getting the perfect consistency for the glaze was quite tricky.
Too thick: If the ganache is too thick, you’ll have trouble dipping the donuts. They’ll get stuck in the chocolate. The chocolate might also set before you even manage to decorate it with sprinkles. The chocolate chip donuts pictured here were glazed with a ganache that was too thick and hard to spread. The resulting chocolate glaze isn’t smooth at all.
Too thin: The donut will be hard to hold and the chocolate will drip everywhere.
In the recipe below, I’m using a 53% chocolate. If you are using a darker chocolate, you’ll need more heavy cream to make the ganache thinner. If you are using a sweeter chocolate, you’ll need less cream (and probably less sugar). You should be able to dip the donut easily and the chocolate glaze should form a thin crust after a while, which you can touch without getting your fingers dirty.
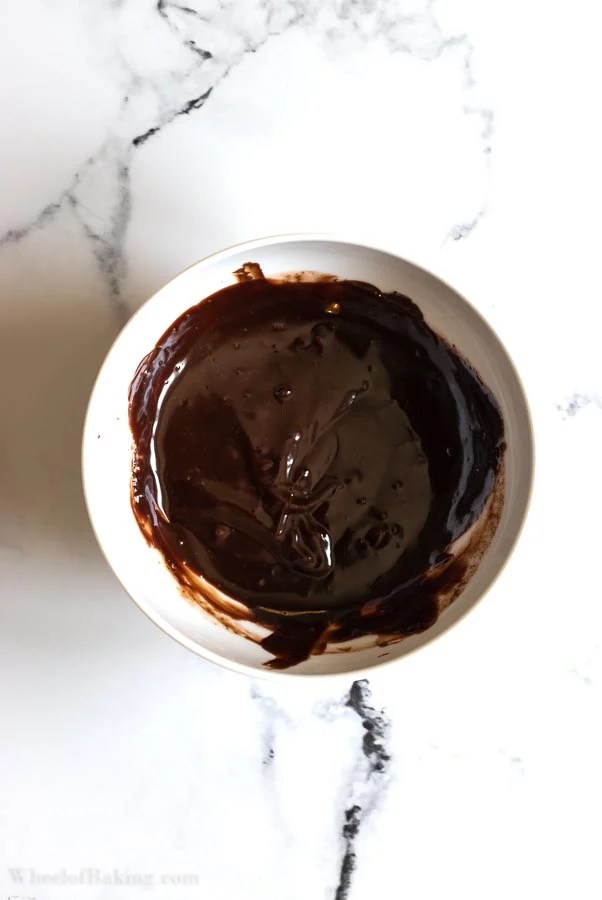
Making a thick chocolate ganache
- Melt the chocolate: Coarsely chop the chocolate and heat it in a double-boiler or in the microwave. If using the microwave, heat the chocolate for 20 seconds, stir, heat again and repeat the process until the chocolate has melted.
- Heat together the icing sugar and heavy cream over medium-high heat, until hot but not boiling.
- Pour the hot cream over the chocolate in two additions and stir until the ganache is completely smooth.


- Dip the donut in the warm chocolate ganache.
- Lift the donut and let the excess chocolate drip over the bowl. Repeat the process for all the donuts. Decorate with sprinkles, if desired, while the glaze is still warm.


And that’s it! You can eat them right away or wait for the chocolate to set a little before digging in! These baked donuts taste great with the chocolate glaze. But you could also make the donuts without a hole, dip them in sugar. And then fill them with jam or hazelnut spread using a piping bag.
More Breakfast Recipes
- Pain au Lait (French milk bread)
- Vienna Bread
- Pain de Mie (sandwich bread)
- No knead Bread

Baked Yeast Donuts with Chocolate Ganache
5
donuts25
minutes9
minutes2
hoursThese yeast donuts are easy to make and don’t require any pan! And there is no frying involved! Simply bake them for 9 minutes and glaze them with chocolate ganache for an amazing treat!
Ingredients
- For the dough
100 g (97 ml) whole milk
4 g instant yeast
215 g all-purpose flour
40 g granulated sugar
1/2 teaspoon ground nutmeg*
1/4 teaspoon salt
1/2 tablespoon vanilla extract
2 large egg yolks, at room temperature
50 g unsalted butter, cut into pieces, softened but still cool
- For the chocolate ganache
100 g dark chocolate (53% cocoa)
60 g heavy cream
50 g powdered sugar
Directions
- Making the dough
- Dissolving the yeast: Heat the milk until lukewarm, about 43°C (110°F). It should feel very slightly warm to the touch. In a small bowl or measuring cup, gently stir together the warm milk and yeast. Cover and let it sit for 5-10 minutes. Be sure to always test the temperature of a liquid before adding it to the yeast. A high temperature will kill the yeast.
- Mixing the dry ingredients: In the stand mixer bowl fitted with the hook attachment (or a large bowl), whisk together the dry ingredients: flour, sugar, salt and nutmeg.
- Adding the wet ingredients: Add the milk mixture, egg yolks and vanilla extract. Mix everything (on low speed) until fully combined, and the dough pulls away from the sides of the bowl, 3 to 4 minutes. Scrape down the sides of the bowl as needed.
- Adding the butter: Gradually add the softened butter and keep mixing (on low speed) until the dough becomes smooth and elastic. This will take about 10-15 minutes. When adding the butter pieces, wait for the butter to be fully incorporated before adding more, about 20 seconds. The dough is ready when: 1) it pulls away from the sides of the bowl. 2) It doesn’t rip when you pull it and stretch it. 3) It forms a soft ball. This dough is quite sticky but should become easier to handle as you are kneading it. Avoid using any additional flour which would make for a tough donut, unless necessary. If the dough is very wet, add only one tablespoon of flour at a time, until the dough forms a soft ball.
- First rise: Shape the dough into a ball and place it in a lightly oiled medium bowl, turning it once to coat it completely with oil. Cover and let it rise until doubled in volume, about 1 1/2 – 2 hours.
- Shaping the dough: Line a baking sheet with parchment paper. Lightly oil your hands before removing the dough from the bowl. You can flour your hands if you prefer. Gently punch down the dough to deflate it and place it onto a piece of parchment paper. Gather again into a ball. Lightly dust the surface of the dough with flour and roll out to a thickness of about 1cm (3/8 inch). Using a 7 cm (2 3/4 inches) cookie cutter (or sharp glass, knife etc.), cut out circles that are as close as possible. Use a smaller cookie cutter (or piping nozzle) that is about 3 cm (1 1/4 inches) to cut out the donut hole. If you’d rather make a filled donut without hole, you can cut out 6 cm (2 1/3 inches) circles, or any size you’d like really! Transfer the donuts and donut holes to the baking sheet. Gather the scraps and repeat the process once more (roll out the dough, cut shapes).
- Second rise: Cover the donuts loosely with plastic wrap and let rise at room temperature for 30-45 minutes, or until slightly puffy.
- Baking the donuts: Preheat the oven to 190°C (374°F), conventional setting. Bake the donuts on the middle shelf of the oven for about 9 minutes, or until lightly golden. It’s best to check a few minutes before the recommended time to avoid overbaking the donuts, which would make them dry. Let the donuts cool slightly on a wire rack while you prepare the chocolate ganache.
- Making the chocolate ganache
- Melt the chocolate: Coarsely chop the chocolate and heat it in a double-boiler or in the microwave. If using the microwave, heat the chocolate for 20 seconds, stir, heat again and repeat the process until the chocolate has melted.
- Heat together the icing sugar and heavy cream over medium-high heat, until hot but not boiling.
- Pour the hot cream over the chocolate in two additions and stir until the ganache is completely smooth.
- Dip the donut in the warm chocolate ganache. Lift the donut and let the excess chocolate drip over the bowl. Repeat the process for all the donuts.
Notes
- Donut shape: When cutting out shapes, try to cut as many donut circles as possible the first time to avoid rolling out the scraps too many times. The more you work with the dough, the tougher the donuts will be (more gluten formed). Ideally, you should only roll out the dough twice. You can make mini donuts or donut holes with the leftover dough before rolling it out again.
- Yeast: You can use active dry yeast (5 g), or fresh yeast (10 g) if you prefer. The rise time will differ.
- Butter: Softened butter (as opposed to melted butter) is used in this recipe. But to prevent it from melting, the softened butter should still be slightly cool. It’s also best to use a stand mixer to knead the dough to keep it cool. Mixing the dough with warm hands would cause the butter to melt and would result in a greasy dough.
- Nutmeg: The nutmeg flavor is subtle yet wonderful. If you do not want to use nutmeg, you can replace it with cinnamon. You could also use orange zest if you like.
- The donut hole: This dough will rise quite a bit. If you make a small hole, you’ll barely be able to see it once the donuts are baked. I found that using a 7 cm (2 3/4 inches) cookie cutter for the outside and a 3 cm (1 1/4 inches) cookie cutter for the hole resulted in a nice shape. Feel free to experiment if you are unhappy with the size of the hole. I did not bake the donut holes but reused the dough to make more donuts. You can do whatever you prefer.
- Thickness of the donut: I rolled the dough out to a thickness of 1 cm. Once baked, the donuts were quite high (see pictures in the post). We personally loved them like this. But if you don’t want them to be this tall, feel free to experiment with a lesser thickness when rolling out the dough.
- Chocolate ganache: If you are using a darker chocolate, you’ll need more heavy cream to make the ganache thinner. If you are using a sweeter chocolate, you’ll need less cream (and probably less sugar). You should be able to dip the donut easily and the chocolate glaze should form a thin crust after a while, which you can touch without getting your fingers dirty.
- Coating the donuts with sugar: If you wish to coat the donuts with sugar, you can do so as soon as you take them out of the oven. Brush them with melted butter and then dip them in sugar. And if you don’t feel like melting butter, simply stick a cube of butter into a fork and rub it against the hot donut.
- Recipe adapted from Cook’s Illustrated and Natasha’s kitchen.
Did you make this recipe?
Tag @wheelofbaking on Instagram and hashtag it #wheelofbaking
Like this recipe?
Follow me @wheelofbaking on Pinterest
Bibliography
1Cook’s Illustrated (2013). The Cook’s illustrated baking book: Baking demystified: 450 recipes from America’s most trusted food magazine. America’s Test Kitchen.
This dough would make a great dough for maybe cinnamon rolls, but it didn’t taste much like donuts to me😔I was really craving donuts. Great dough overall for others like cinnamon rolls!!
I’m sorry it didn’t satisfy your craving Samantha 🙁 Were you specifically looking for baked donuts or would frying be an option? America’s Test Kitchen has a video on how to make homemade glazed donuts if frying is not an issue for you. Hope you’ll manage to enjoy the perfect donut for you soon!